How do we incorporate your input and output into a PCB? Actually, it’s pretty simple.
Something the user does to the board — a button press, a knob turn, a sensor reading.
Something the board does back — light up, make noise, show data.
The wildcard. It has to physically or electrically tie into your project some way, some how.
For your components, you’ve got a couple of options. Here are the main factors you can use to help you choose which one you should use.
Ease of Use
Breakout boards are the easiest type of component to integrate into your board. They’re ready-made mini PCBs that take care of power supply and decoupling and pretty much everything. All you need to do is connect a few signal traces and you’re good. This is highly, highly recommended for beginners. They also have the most code libraries, which means it’s way easier to get it working and debug (code is hard, man).
Standalone chips are so much fun to use. Breakout boards are somewhat simple, which also means it takes away the complexity and customizability that a chip gives you. However, using a chip means you have to deal with everything I said before: decoupling, regulating power supply, and generally other weird stuff.
Cost
Simply: breakout boards are far more expensive than chips. So take that into account when you’re choosing your component.
WARNING
You need to make sure that the part you choose is available for a reasonable price in your country. If you’re choosing a breakout board, be careful of shipping charges.
If you’re choosing a chip, make sure it’s available on jlcpcb.com/parts or another PCBA service (or, if you’re hand soldering, make sure you have a hotplate). If you need help choosing a sensor from JLCPCB, check out the Hermes guide or post in #runtime!
Download the KiCAD symbol and footprint and hold onto the datasheets for your parts (I’ll explain what those are for in the next step).
Inputs
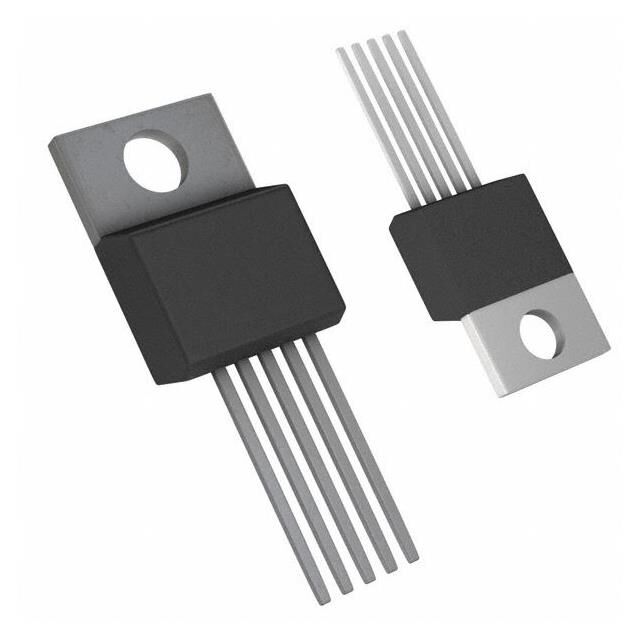
TC74A0
The TC74A0 is a SMD IC with 5 pins that goes directly onto your board and communicates via I2C.
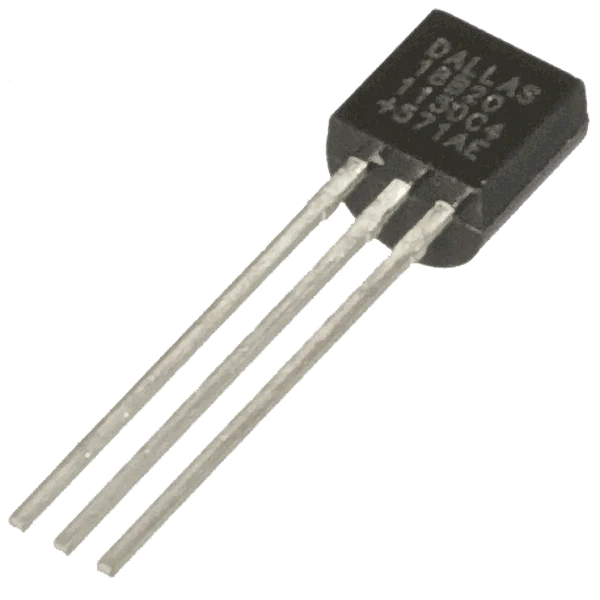
DS18B20
The bare DS18B20 IC has 3 pins and goes directly onto your board. Just wire VDD, GND, and DQ according to the datasheet, keeping the pull-up resistor close to the pin.
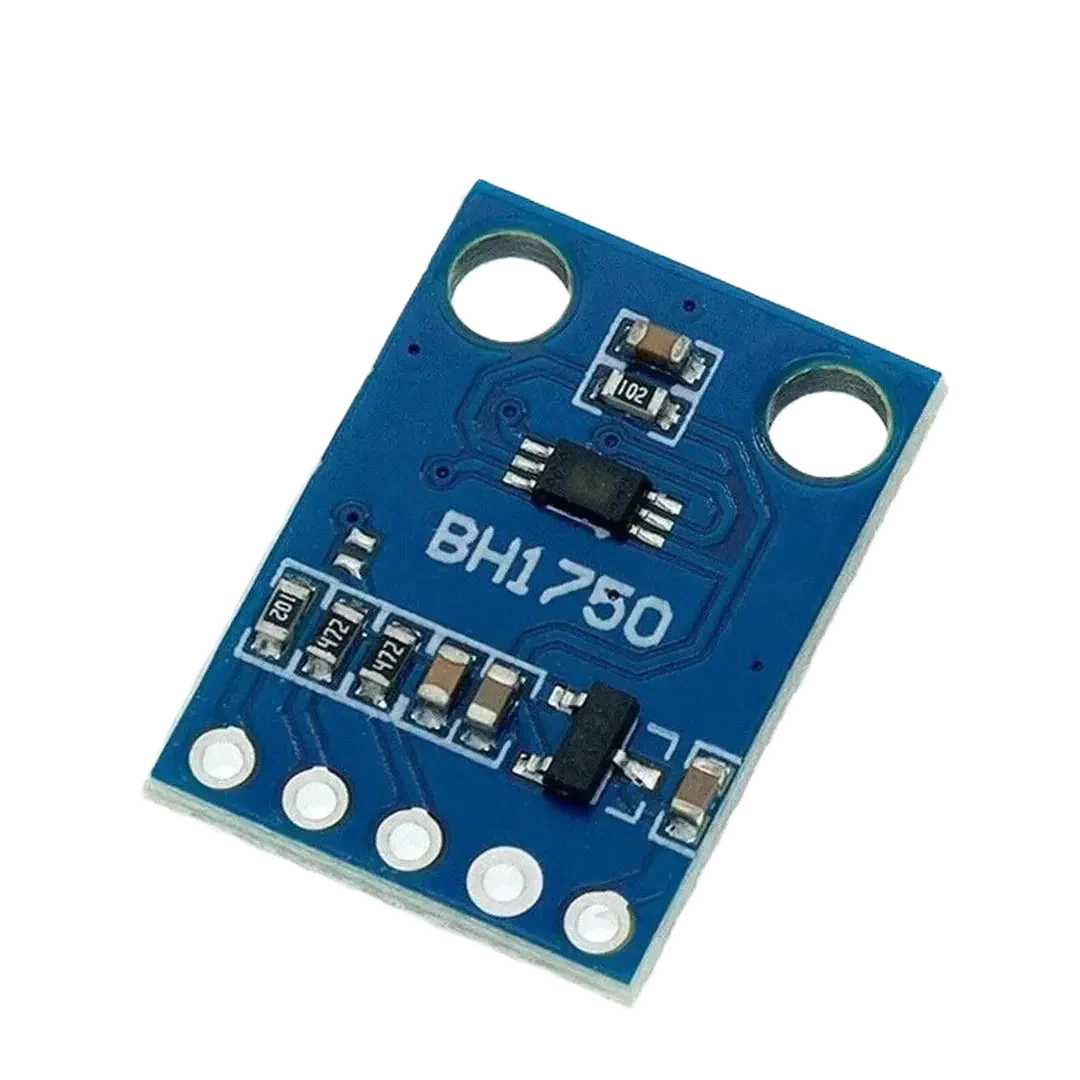
BH1750 module
The BH1750 module is a simple breakout that drops straight onto your I²C bus, wire it up and send a quick measurement command to read back a lux value.
VEML6030
The bare VEML6030 is a tiny SMD IC that mounts directly on your board and talks over the same I²C bus, just give it a clear view of the light source, and its register map lets you dial in gain and sensitivity for your setup.
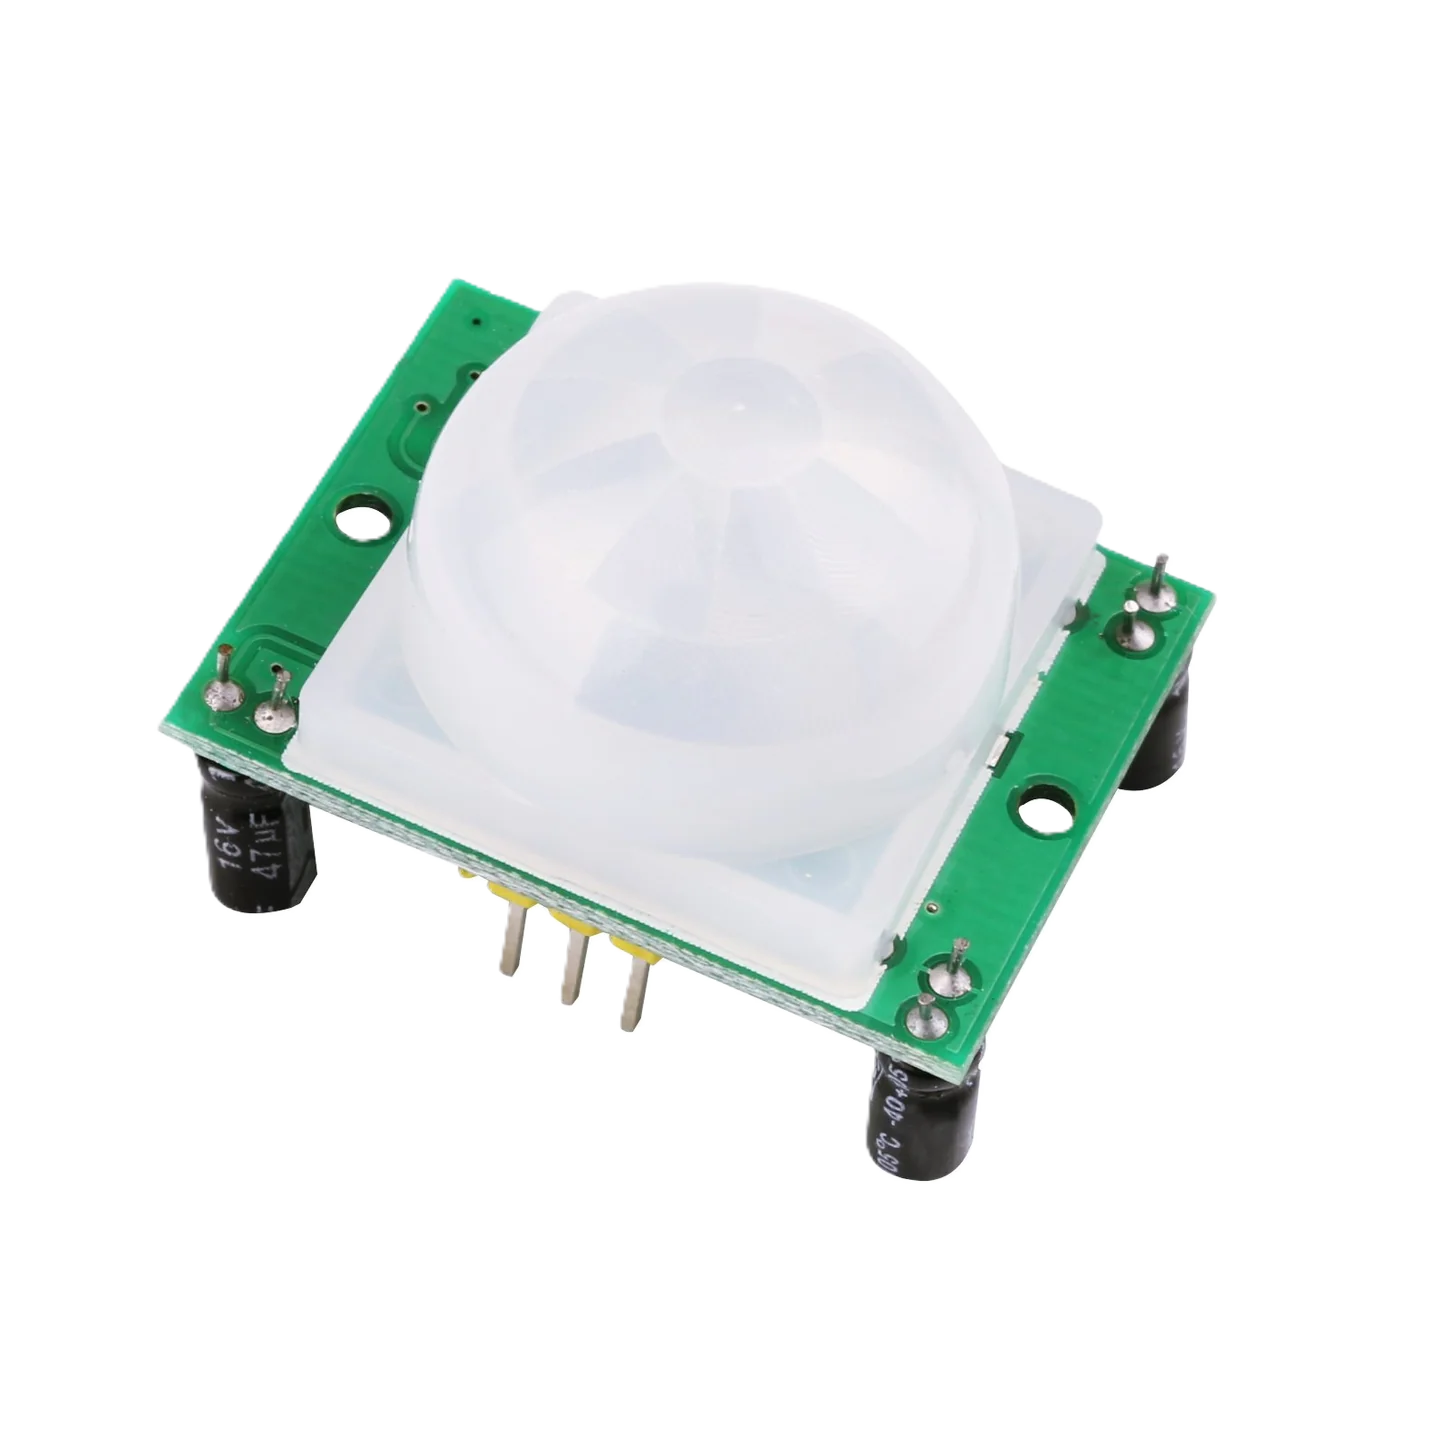
HC-SR501
The HC-SR501 is a simple module, power it up and its output pin goes HIGH whenever it senses motion. Two onboard trimpots let you tune sensitivity and how long the signal stays high.
BISS0001
For a more custom PCB design, the BISS0001 is the driver chip behind PIR modules like the HC-SR501, a small SMD IC with a well-documented reference circuit, giving you a fun starting point for building your own motion sensor from scratch.
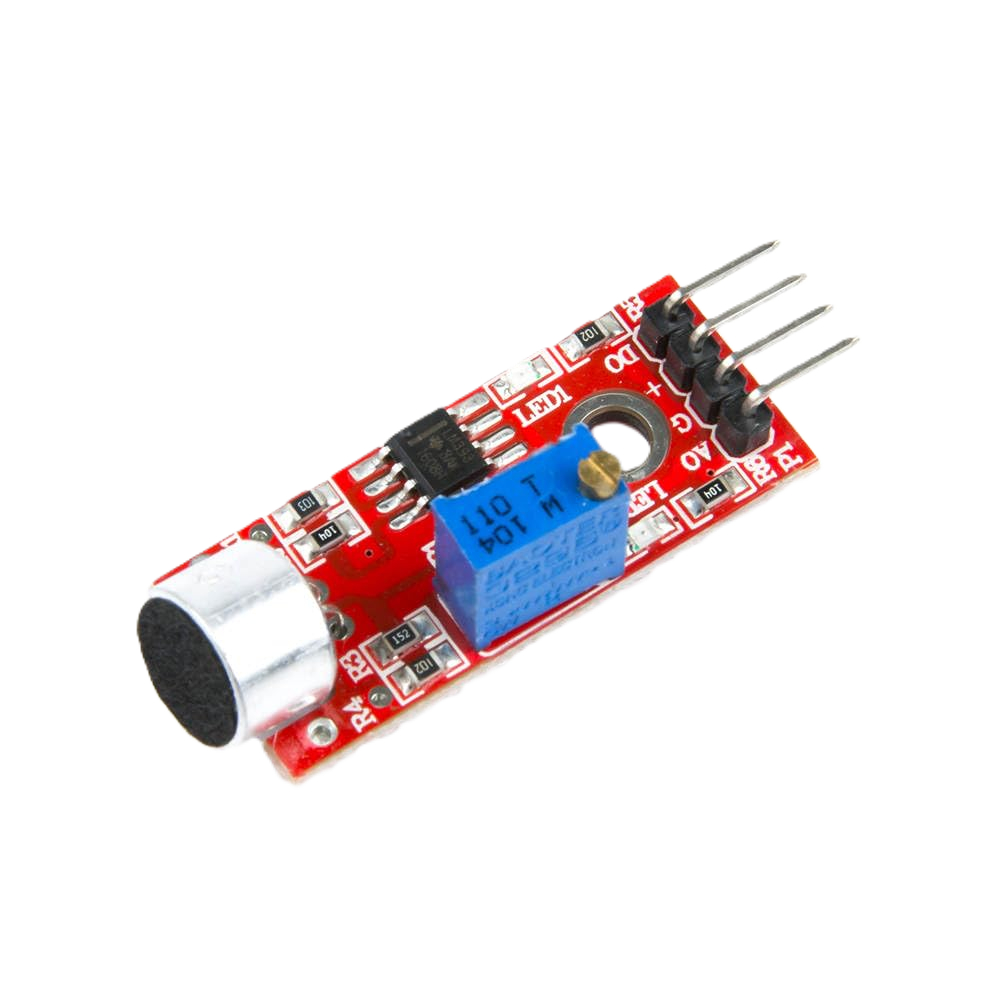
KY-037 / KY-038
The KY-037/038 module is a simple breakout with a built-in mic, read its analog pin for a live sound level, or its digital pin for a simple threshold trigger you can tune with the onboard knob.
MAX4466
The bare MAX4466 is a small SMD amplifier chip for building your own microphone circuit right on the board, pair it with an electret mic capsule and feed its output into an ADC pin. It's a great next step once you've outgrown a pre-made module.
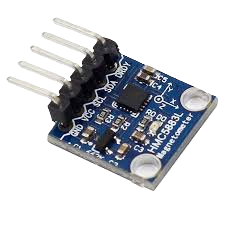
QMC5883L module
The QMC5883L breakout is a small I²C module, wire it up and a library like QMC5883LCompass gives you calibrated heading and field-strength readings on all three axes right away.
QMC5883L
The bare QMC5883L is a compact SMD IC you can mount directly on your board, same I²C interface as the module, just add a couple of small decoupling caps nearby and calibrate for local magnetic offsets once it's in its final spot.
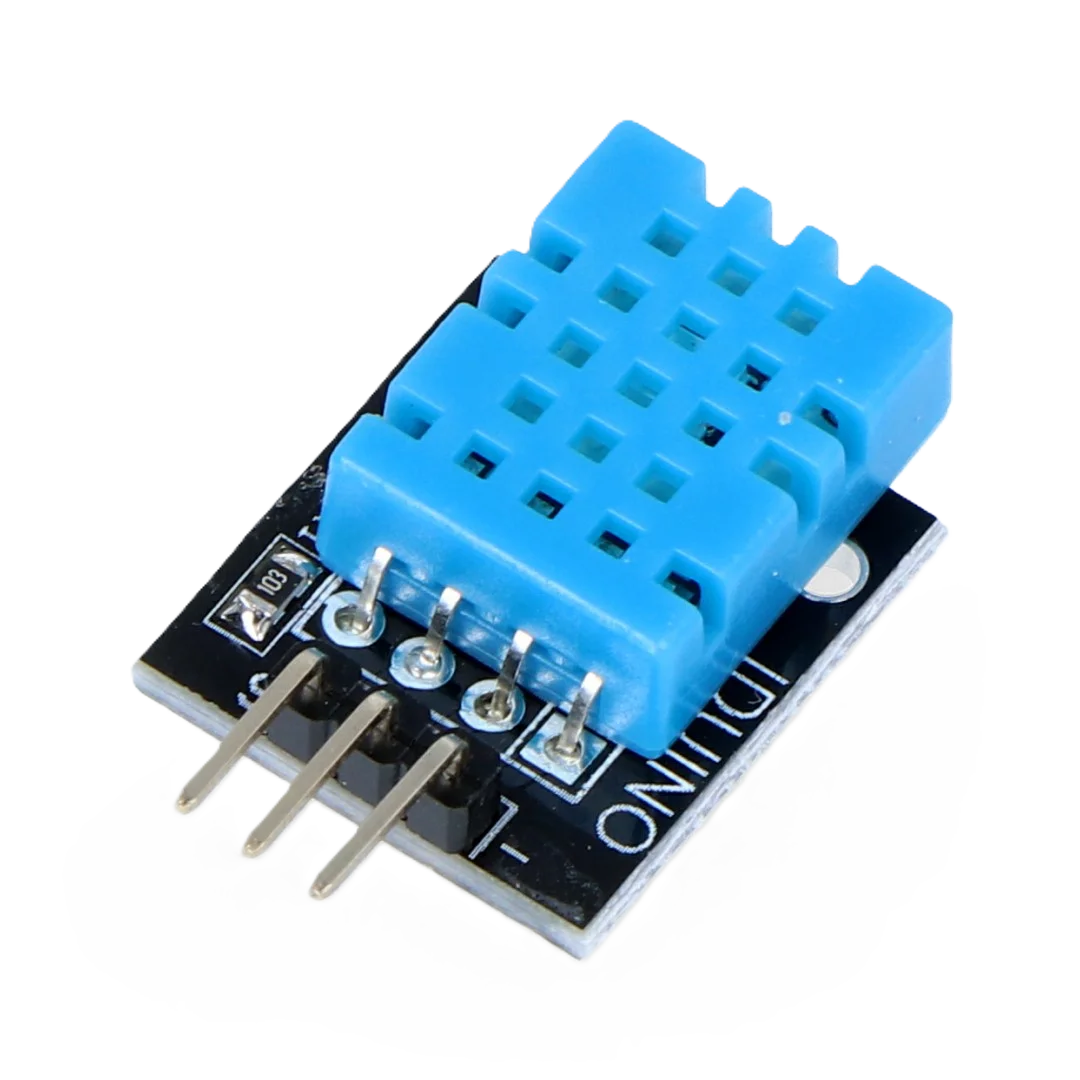
DHT11 module
The DHT11 module is a simple breakout, one data line gives you both temperature and humidity with a single library call.
SHT40-AD1B-R2
The bare SHT40-AD1B-R2 is a tiny SMD IC that mounts directly on your board, it talks over I²C, so send a measure command and read back the temperature and humidity data a few milliseconds later.
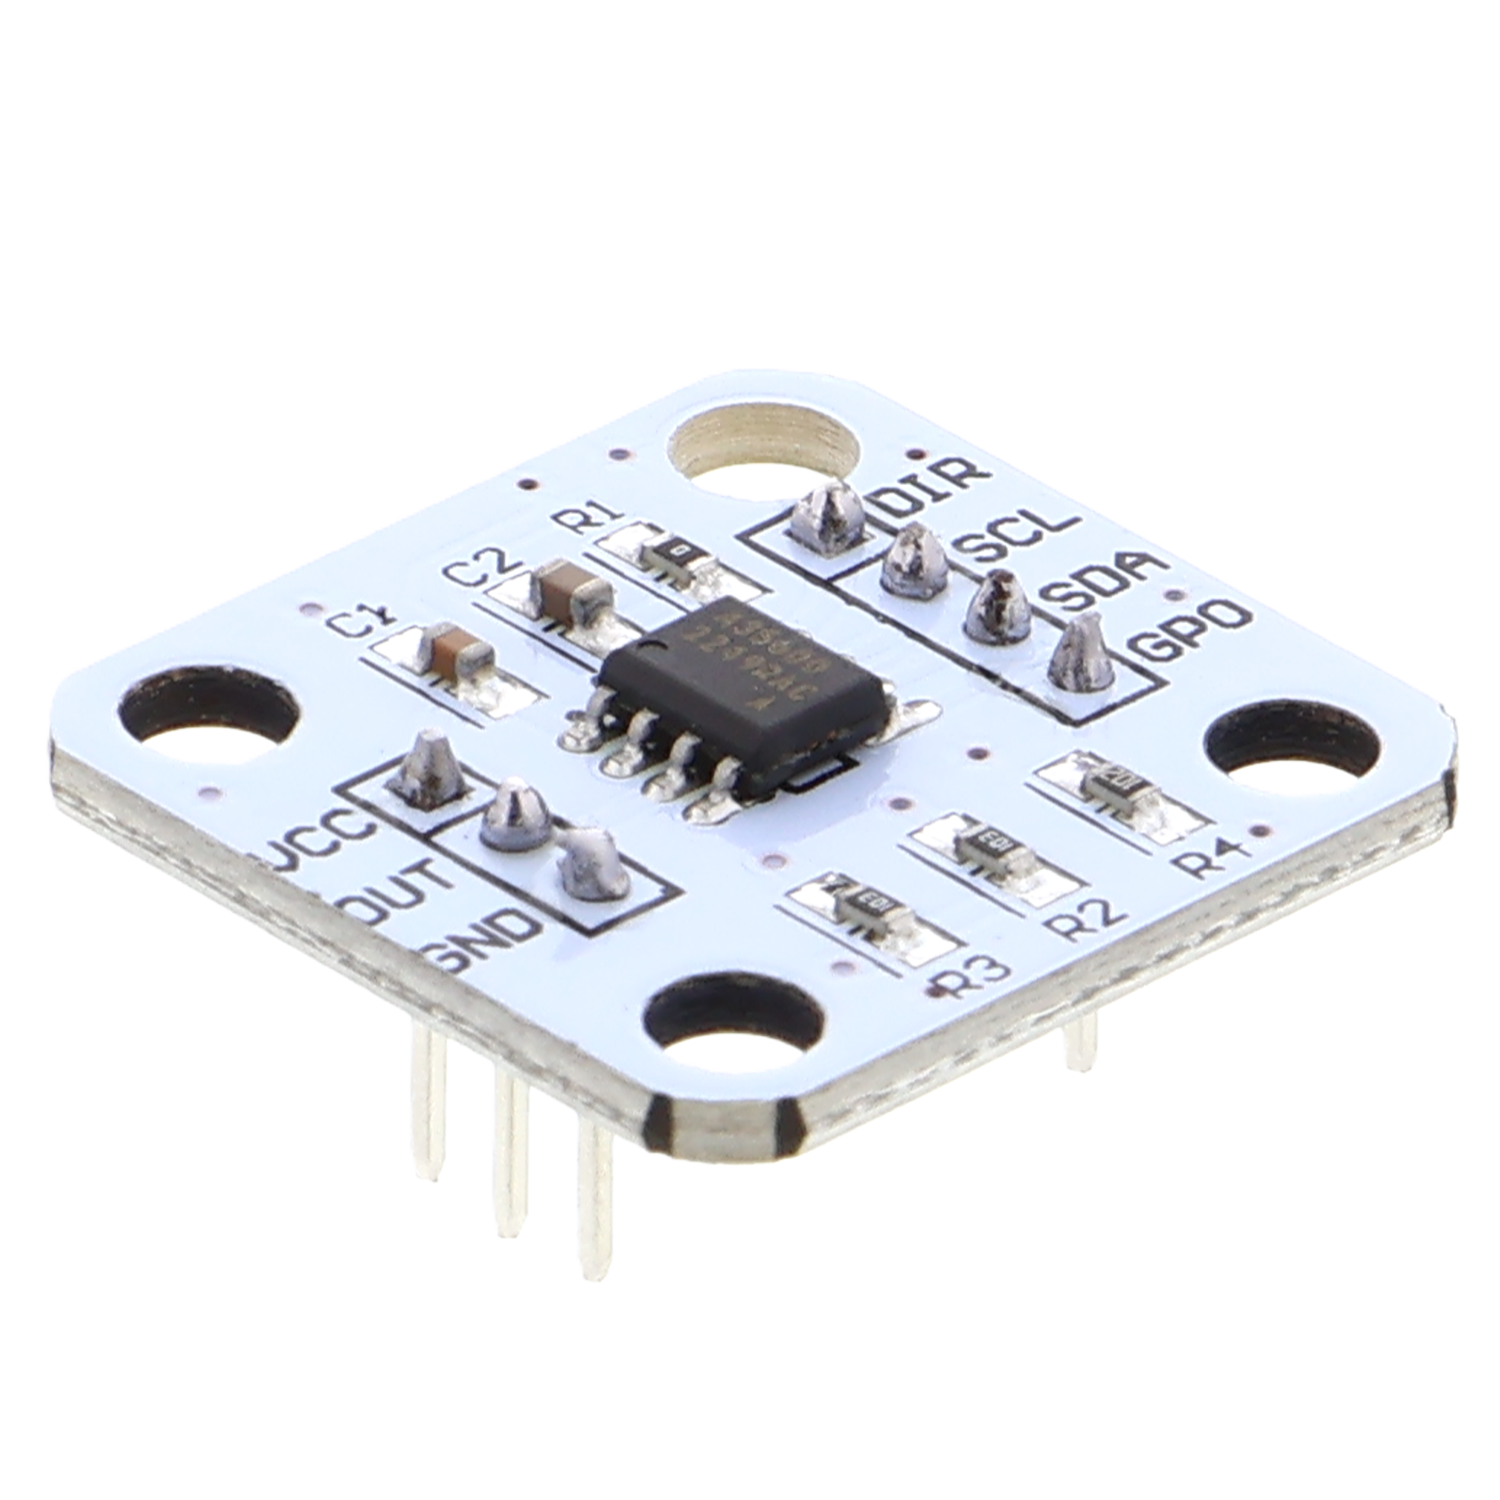
AS5600 module
The AS5600 module reads the angle of a small magnet placed just above it, wire it to your I²C bus and read back a smooth, contactless angle value.
AS5600
The bare AS5600 is a small SMD chip with the same I²C interface as the module, mount it directly on your board with a magnet positioned a few millimeters above it.
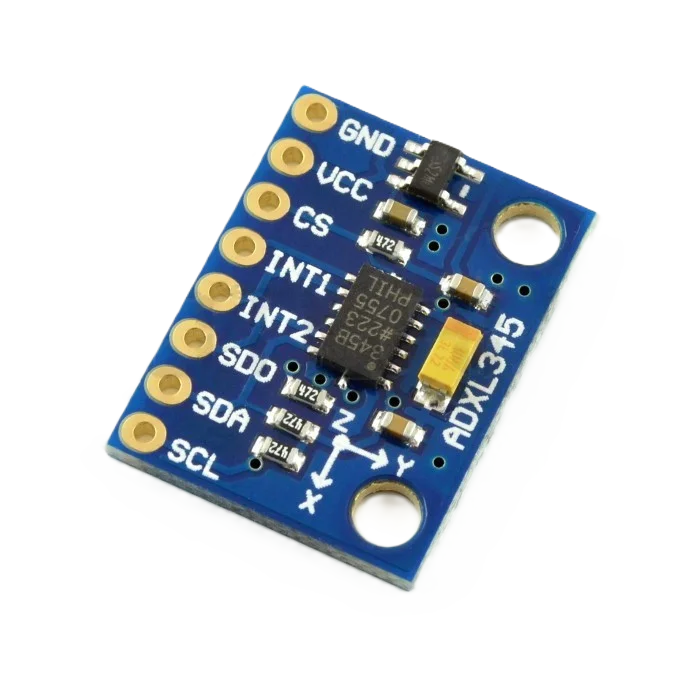
ADXL345 module
The ADXL345 module connects over I²C (or SPI) and a library like Adafruit's gives you calibrated acceleration on all three axes right out of the box.
LIS2DH12
The bare LIS2DH12 is a tiny SMD accelerometer chip you can mount directly on your board, same idea over I²C, just enable the axes in a register and read back the X/Y/Z values.
MAX30102 module
The MAX30102 module reads heart rate and blood oxygen through a fingertip or wrist, wire it to your I²C bus, and a vendor library (like SparkFun's or DFRobot's) handles the signal processing for you.
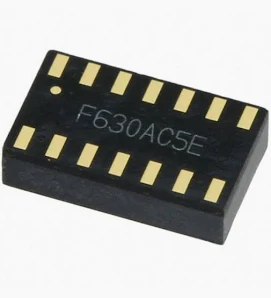
MAX30102
The bare MAX30102 is a compact optical sensor chip you can mount directly on your board, same I²C interface as the module, just keep its little optical window facing outward so it has a clear view of the skin.
Outputs
Grove Speaker module
The Grove Speaker module plugs straight into your Grove connector, feed it a PWM or analog audio signal and adjust the volume with the onboard knob. It's a fully self-contained little speaker with its own amp built right in.
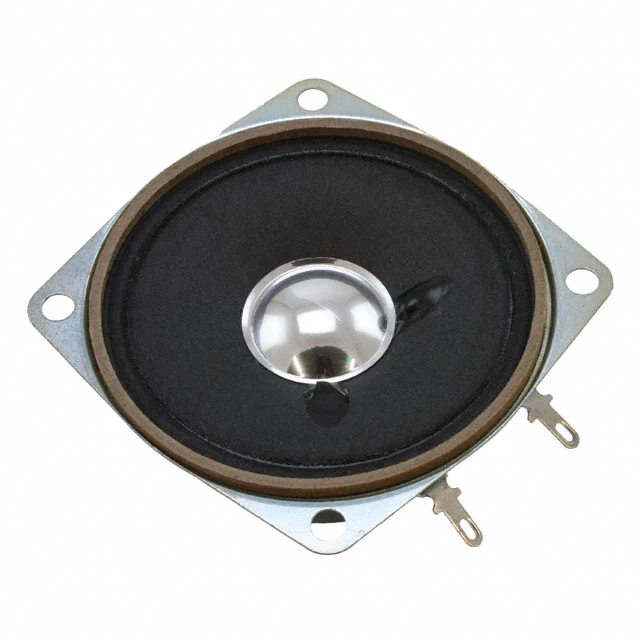
Same Sky GF0668 (3 W speaker)
The GF0668 is a bare 3W speaker for when you want bigger sound, pair it with a small amp board (like a PAM8403) to drive it, then wire its two leads straight to your board.

Passive piezo buzzer
A passive piezo buzzer is a simple 2-pin transducer, drive it with a PWM signal through a small series resistor, and varying the frequency changes the pitch.
KY-012
The KY-012 module makes things even easier, just hold its signal pin HIGH and it generates its own tone internally, no PWM required.
8× LEDs
Wire up 8 LEDs, one per GPIO pin through a small resistor, to display a byte in binary, leftmost LED is the highest bit, rightmost is the lowest.
Piezo buzzer
Or use a single piezo buzzer to beep out the same byte instead, a short beep for a 0, a long beep for a 1.
Single LED
Blink a single LED to spell out your sensor value in Morse code, short blinks for dots, longer ones for dashes, with pauses between letters.
Piezo buzzer
Or swap the LED for a piezo buzzer and use the same timing to beep out dots and dashes instead.
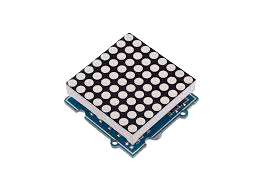
MAX7219 8×8 LED matrix module
The MAX7219 module talks over SPI, a few simple commands set the brightness and pixel data for you, so you never have to control each LED individually.

Kingbright TC15-11GWA (bare 8×8 matrix)
The bare TC15-11GWA has no driver chip built in, so you scan through the rows yourself with a bit of firmware, a fun option if you want full control over how the LEDs light up.
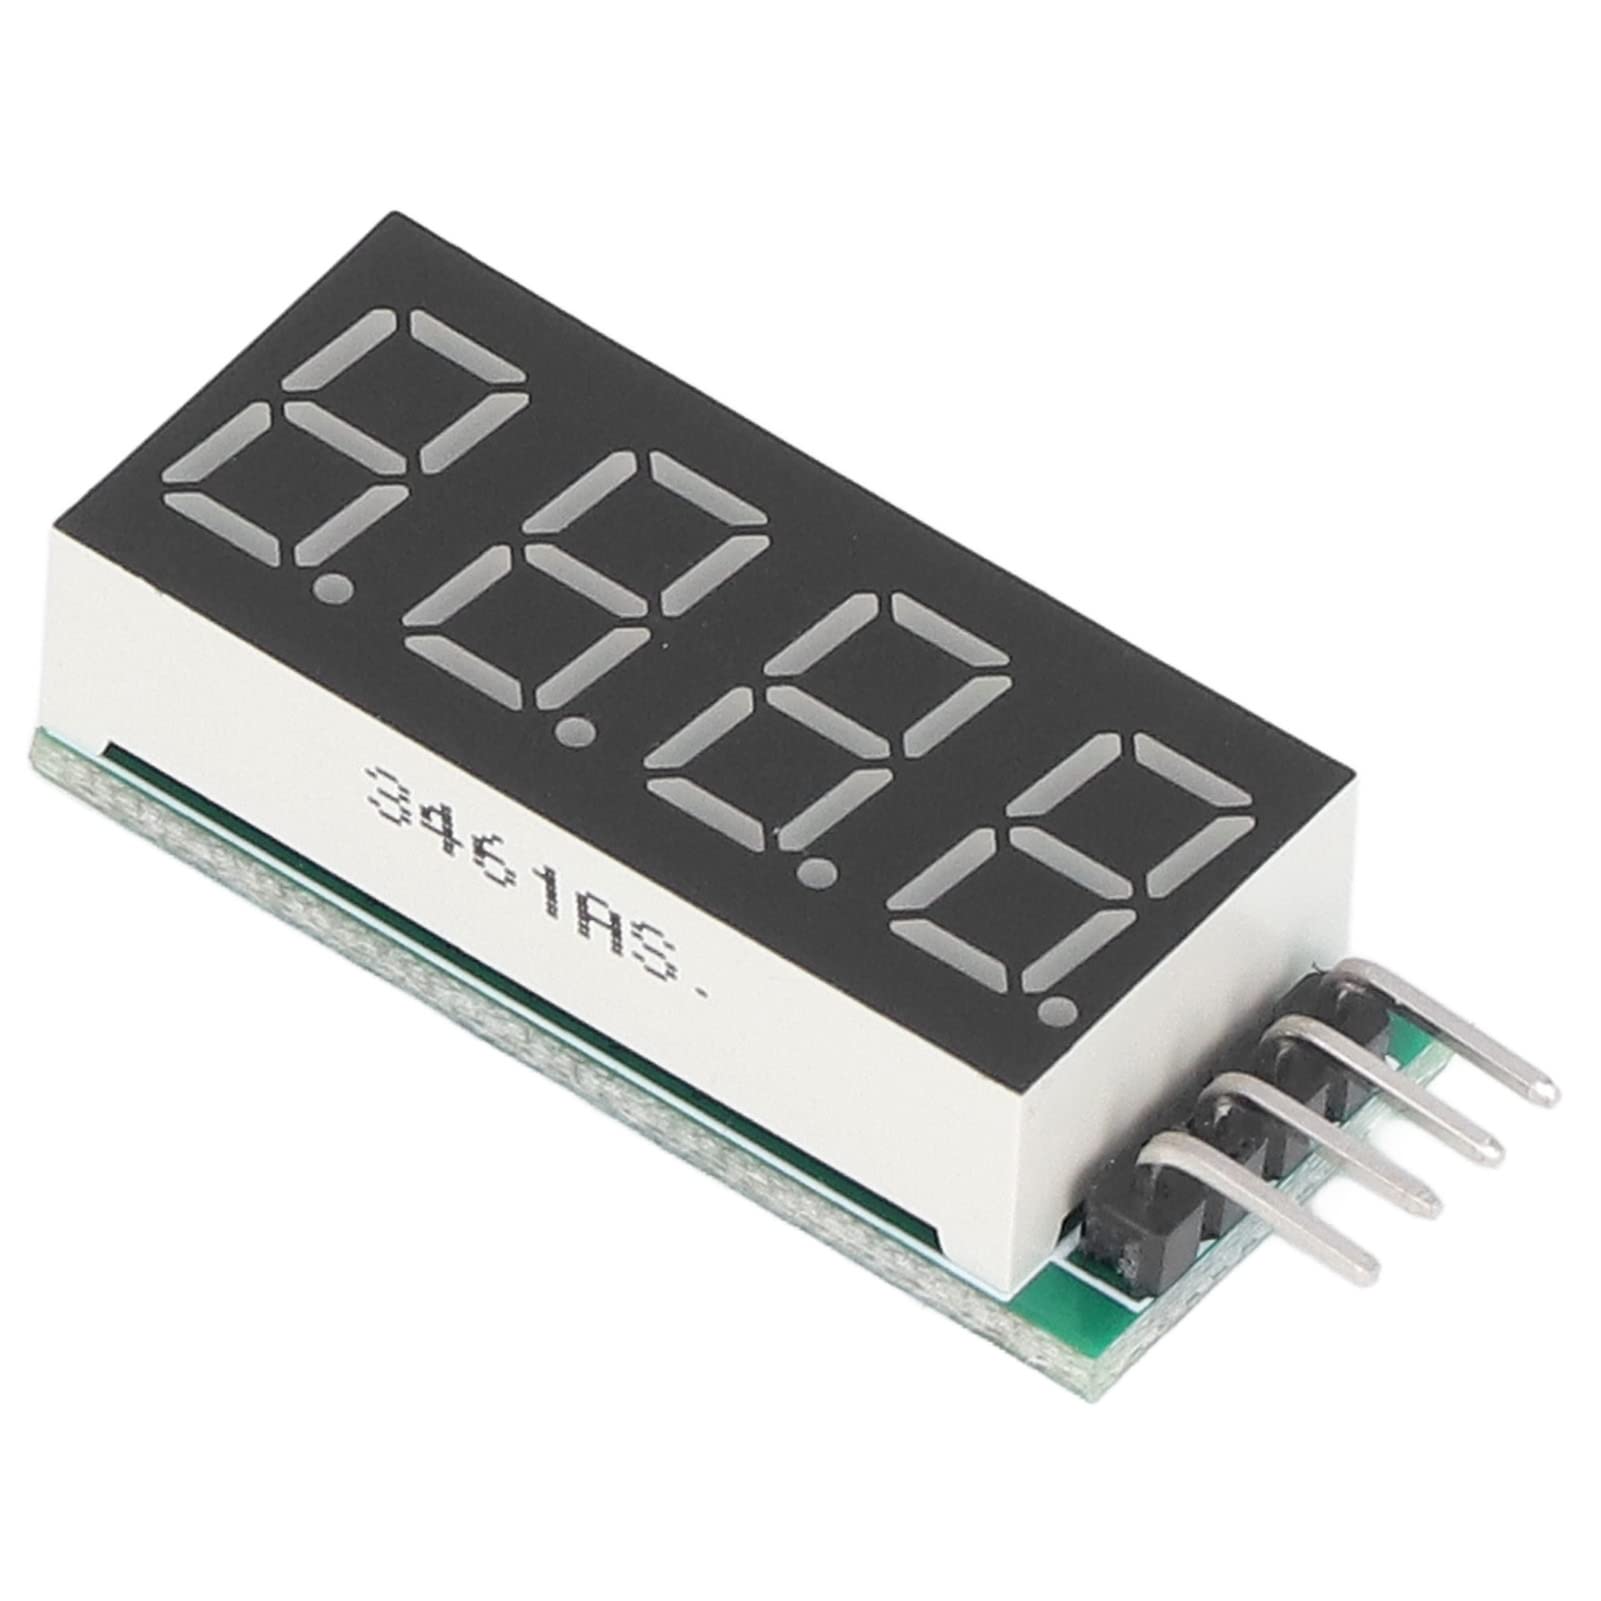
TM1637 4-digit module
The TM1637 module uses just two wires and handles all the multiplexing internally, a library lets you display numbers with a couple of lines of code.
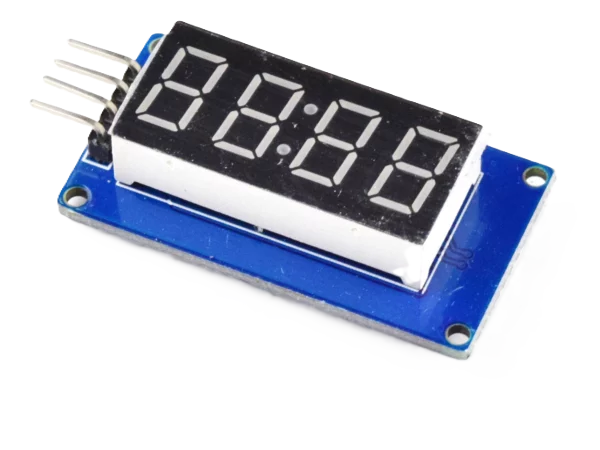
Kingbright SA52-11SRWA (bare 7-segment)
The bare SA52-11SRWA has no driver chip, so you wire each segment straight to a GPIO through a small resistor, a nice way to see exactly how these displays work under the hood.
Connectors
Connectors are the place to make your Runtime board yours. Come up with any cool, funny, and/or stupid idea to fit this into your project.

Split ring keychain
Add two 3.2 mm drill holes (MountingHole_3.2mm_M3 footprint in KiCad) near one edge of the board, at least 3 mm from any copper trace.
Carabiner
Loop a split ring or small carabiner through one of the mounting holes after fabrication.
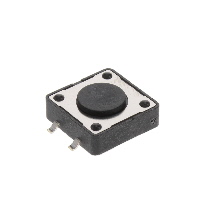
12 mm tactile switch
Default symbol and footprint! Symbol: SW_PUSH. Footprint: SW_PUSH-12mm. Wire one side of the button to a GPIO pin and the other side to GND. Enable the MCU's internal pull-up so the pin reads HIGH when open and LOW when pressed. Add a 20 ms software debounce to ignore contact bounce.
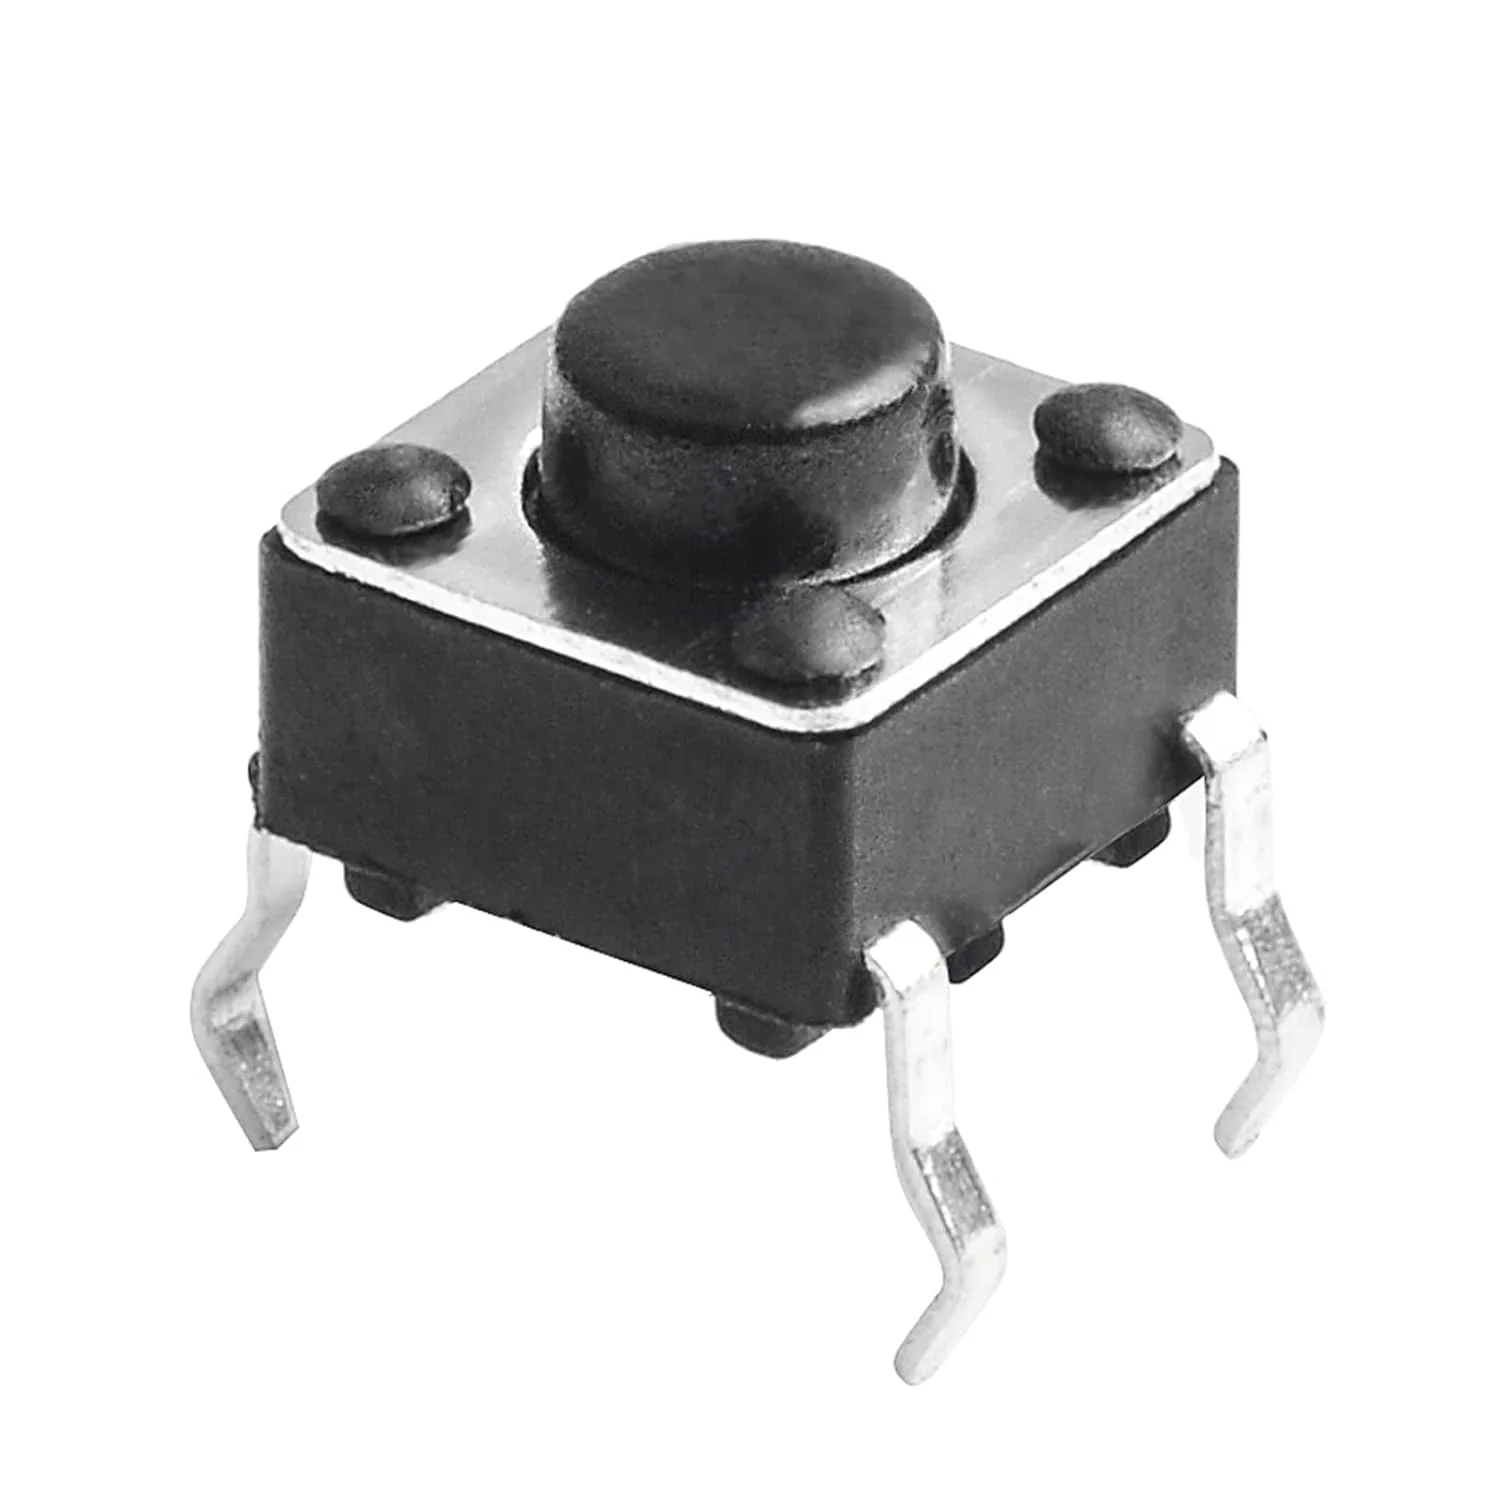
6 mm push button
Default symbol and footprint! Symbol: SW_PUSH. Footprint: SW_PUSH-6mm. Wire one side of the button to a GPIO pin and the other side to GND. Enable the MCU's internal pull-up so the pin reads HIGH when open and LOW when pressed. Add a 20 ms software debounce to ignore contact bounce.
Cherry MX Switch
Default symbol and footprint! Symbol: SW_PUSH. Footprint: SW_Cherry_MX_1.00u. Wire one side of the button to a GPIO pin and the other side to GND. Enable the MCU's internal pull-up so the pin reads HIGH when open and LOW when pressed. Add a 20 ms software debounce to ignore contact bounce.
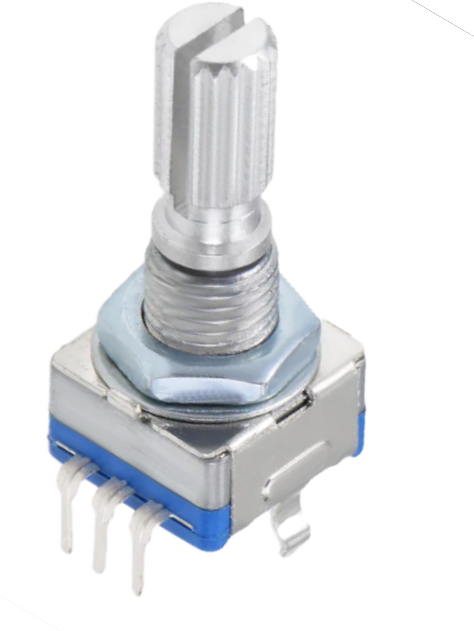
EC11 rotary encoder
Connect the A and B pins to two GPIOs with 10 kΩ pull-ups (or enable internal pull-ups in firmware). Read the quadrature transitions to determine rotation direction and count. The EC11 also has a push-switch on SW/GND for click input.
SPST switches
There are a metric ton of these on the internet. Search around to see which one has the best price. Place the switch in series with your signal or power line, connecting one pad to the source and the other to the load, with a pull-down (or pull-up) resistor to keep the input pin at a defined logic level when the switch is open.
3PDT slide switch
There are a metric ton of these on the internet. Search around to see which one has the best price. Slide switch with 3 positions. Place directly on board and read datasheet carefully so that you don't confuse which pins do what.
3PDT Toggle
There are a metric ton of these on the internet. Search around to see which one has the best price. Toggle switch with 3 positions. Can go onto your board, but may be bulky so wiring the pins to your board is another option. Read datasheet carefully so that you don't confuse which pins do what.
You got a good idea for a new input, output, connector, or part? Post it in #runtime on the Hack Club Slack and I’ll add it!
The Brain
Choosing a microcontroller
The last part you have to choose is the microcontroller, which is responsible for all “brain” function on your board. It’ll grab data from your input, do some stuff with it (whatever you want), and display it to your output (in whatever way you want).
For beginners, the Seeed Studio XIAO RP2040 is great. It’s got 10 available pins and there’s a ton of documentation on it.
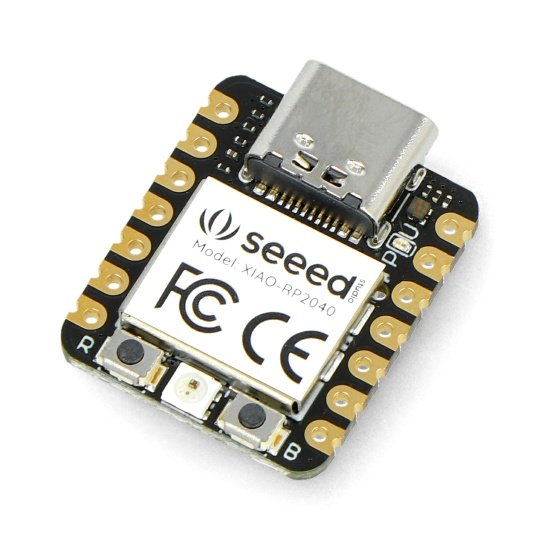
The XIAO RP2040 is another example of a mini PCB people put onto their custom PCBs. These mini PCB microcontrollers are called microcontroller units, because they come with everything necessary to run and power and flash the microcontroller chip that’s on the board (like the RP2040 chip on the XIAO RP2040).
If you’ve made PCBs before, I highly encourage you to pick your favorite microcontroller chip and stick it straight onto your board. Reading the datasheet and parsing through tons and tons of weird graphs is actually kinda fun, I promise. Just remember your decoupling capacitors, oscillating crystal, flash memory, and everything else the datasheet may point out.
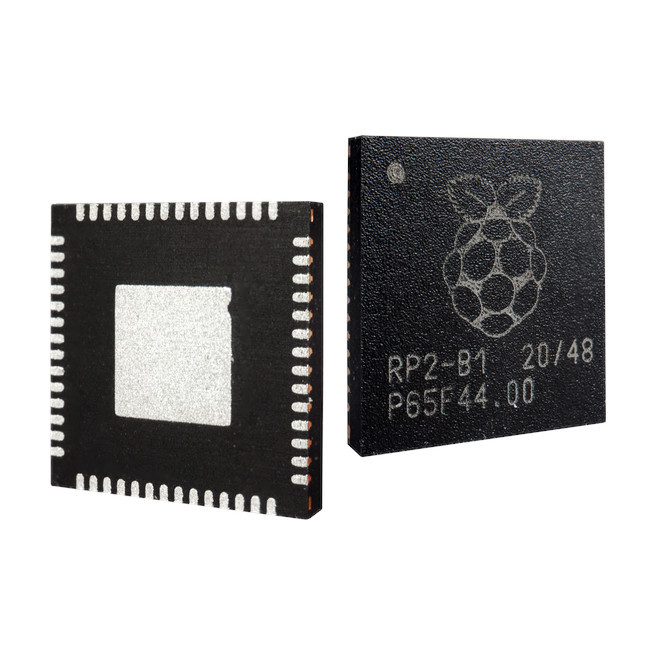
Again, make sure you can get your chosen microcontroller unit shipped to you for a reasonable price. Or, if you’re choosing to do PCBA, make sure it’s available on JLCPCB or another PCBA service.